

Price: 358.58 - 179.29
The X21Pro metal detector complies with the technical specifications and environmental testing requirements of the international market for metal detectors. The specific technical requirements, testing requirements, inspection rules, and other contents are as follows:
1. Power supply (provides two power supply options):
Option A, 6VDC power supply with 4 1.5V batteries
Option B, Lithium ion battery (supports Type-C interface charging)
2. Indicator:
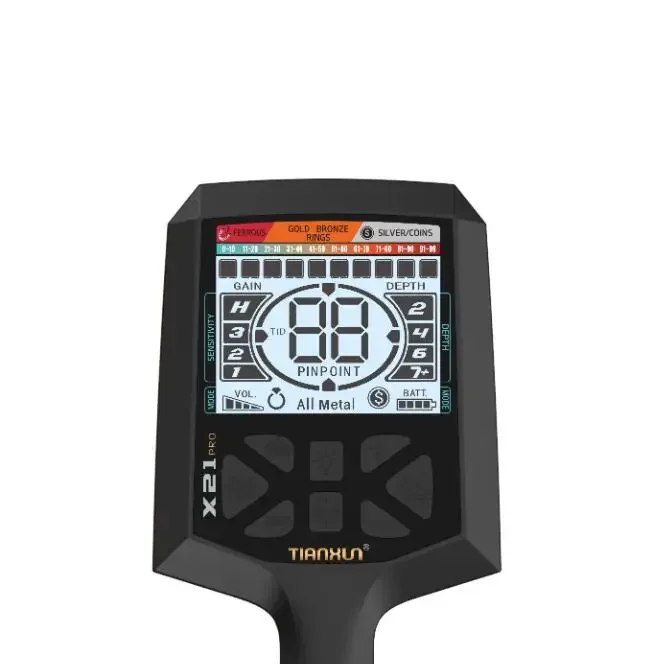
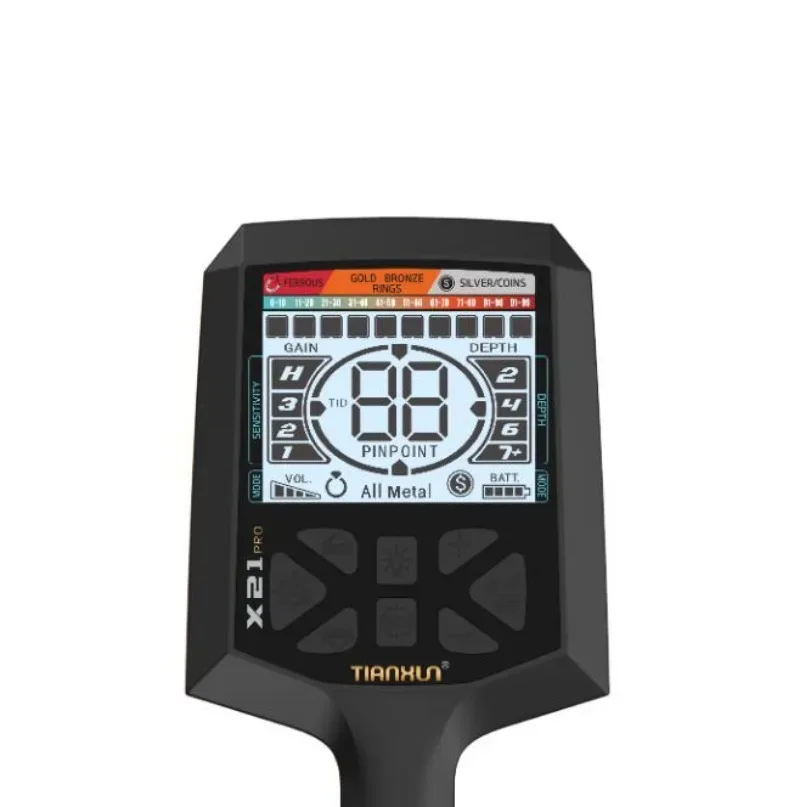
2.1 Visual inspection: LCD liquid crystal display screen
2.2 Sound speakers or headphones
3. Display and function selection:
3.1. After turning on, there are 10 metal feature classifications on the top of the display screen. When using the machine to measure an object, an indicator will appear above the corresponding metal.
3.2. DEPTH is a depth indication when an object is detected.
3.3. In standby mode, if you need to change the mode, press the switch/menu button to select the desired mode. The selected mode will be boxed in black.
3.4. When metal is detected, the numerical value of the object will be displayed in the middle. The more precious the metal, the higher its value.
4. Menu:
4.1 SENS: Sensitivity;
Press “↑” and “↓” to adjust the sensitivity size, with a total of 0-99 divisions.
4.2. Volume;
Press “+” and “-” to adjust the volume.
4.3 Selective shielding.
Users can choose to shield any one or more precious metals based on their needs or preferences when using the detector. Can only be used in jewelry mode and coin mode. Press the mode key, the square above will flash, then press ↑ or ↓ to move, and then press the mode key to block or cancel.
5. Mode:
5.1 (referred to as Jewelry Mode)
This mode is set up to search for jewelry.
5.2 (referred to as Coin Mode)
This mode only tests US dollars: 5, 1, 10, 25, 50, 1$
5.3 (abbreviated as all metal mode)
This mode has no shielding and all metals can be detected.
6. PINPoint (abbreviated as PP precise positioning mode)
PINPOINT is used when the user detects metal within a range during use, but cannot accurately confirm the position of the object. The specific operation is to raise the detection disk of the machine 8-10 cm above the ground. Press and hold the PP button in the middle of the machine, and the LCD will display the numerical value. Slowly lower the machine. Backtesting up and down within the range. If an object is measured, the value will change. The smaller the value, the closer it is to the object. The sound will also increase from low to high. (This function can only locate the position and depth of objects, and cannot distinguish the type of metal.)
7. Automatically balance:
Press the balance button and move up and down 3-5 cm above the ground. When you hear a beep, it indicates that the automatic balance has been completed.
8. Manually balancing:
Press and hold the balance key while holding down ↑ or ↓ to manually adjust the balance.
9. Backlight function:
The backlight button in the middle of the machine turns the backlight on or off.
10. Steps to restore factory settings: When the device is turned off, press and hold the mode button, keep pressing and holding it until it is fully displayed, indicating that the factory settings have been restored.
11. The working frequency is approximately 12.8KHz ± 0.2KHz


Reviews
There are no reviews yet.