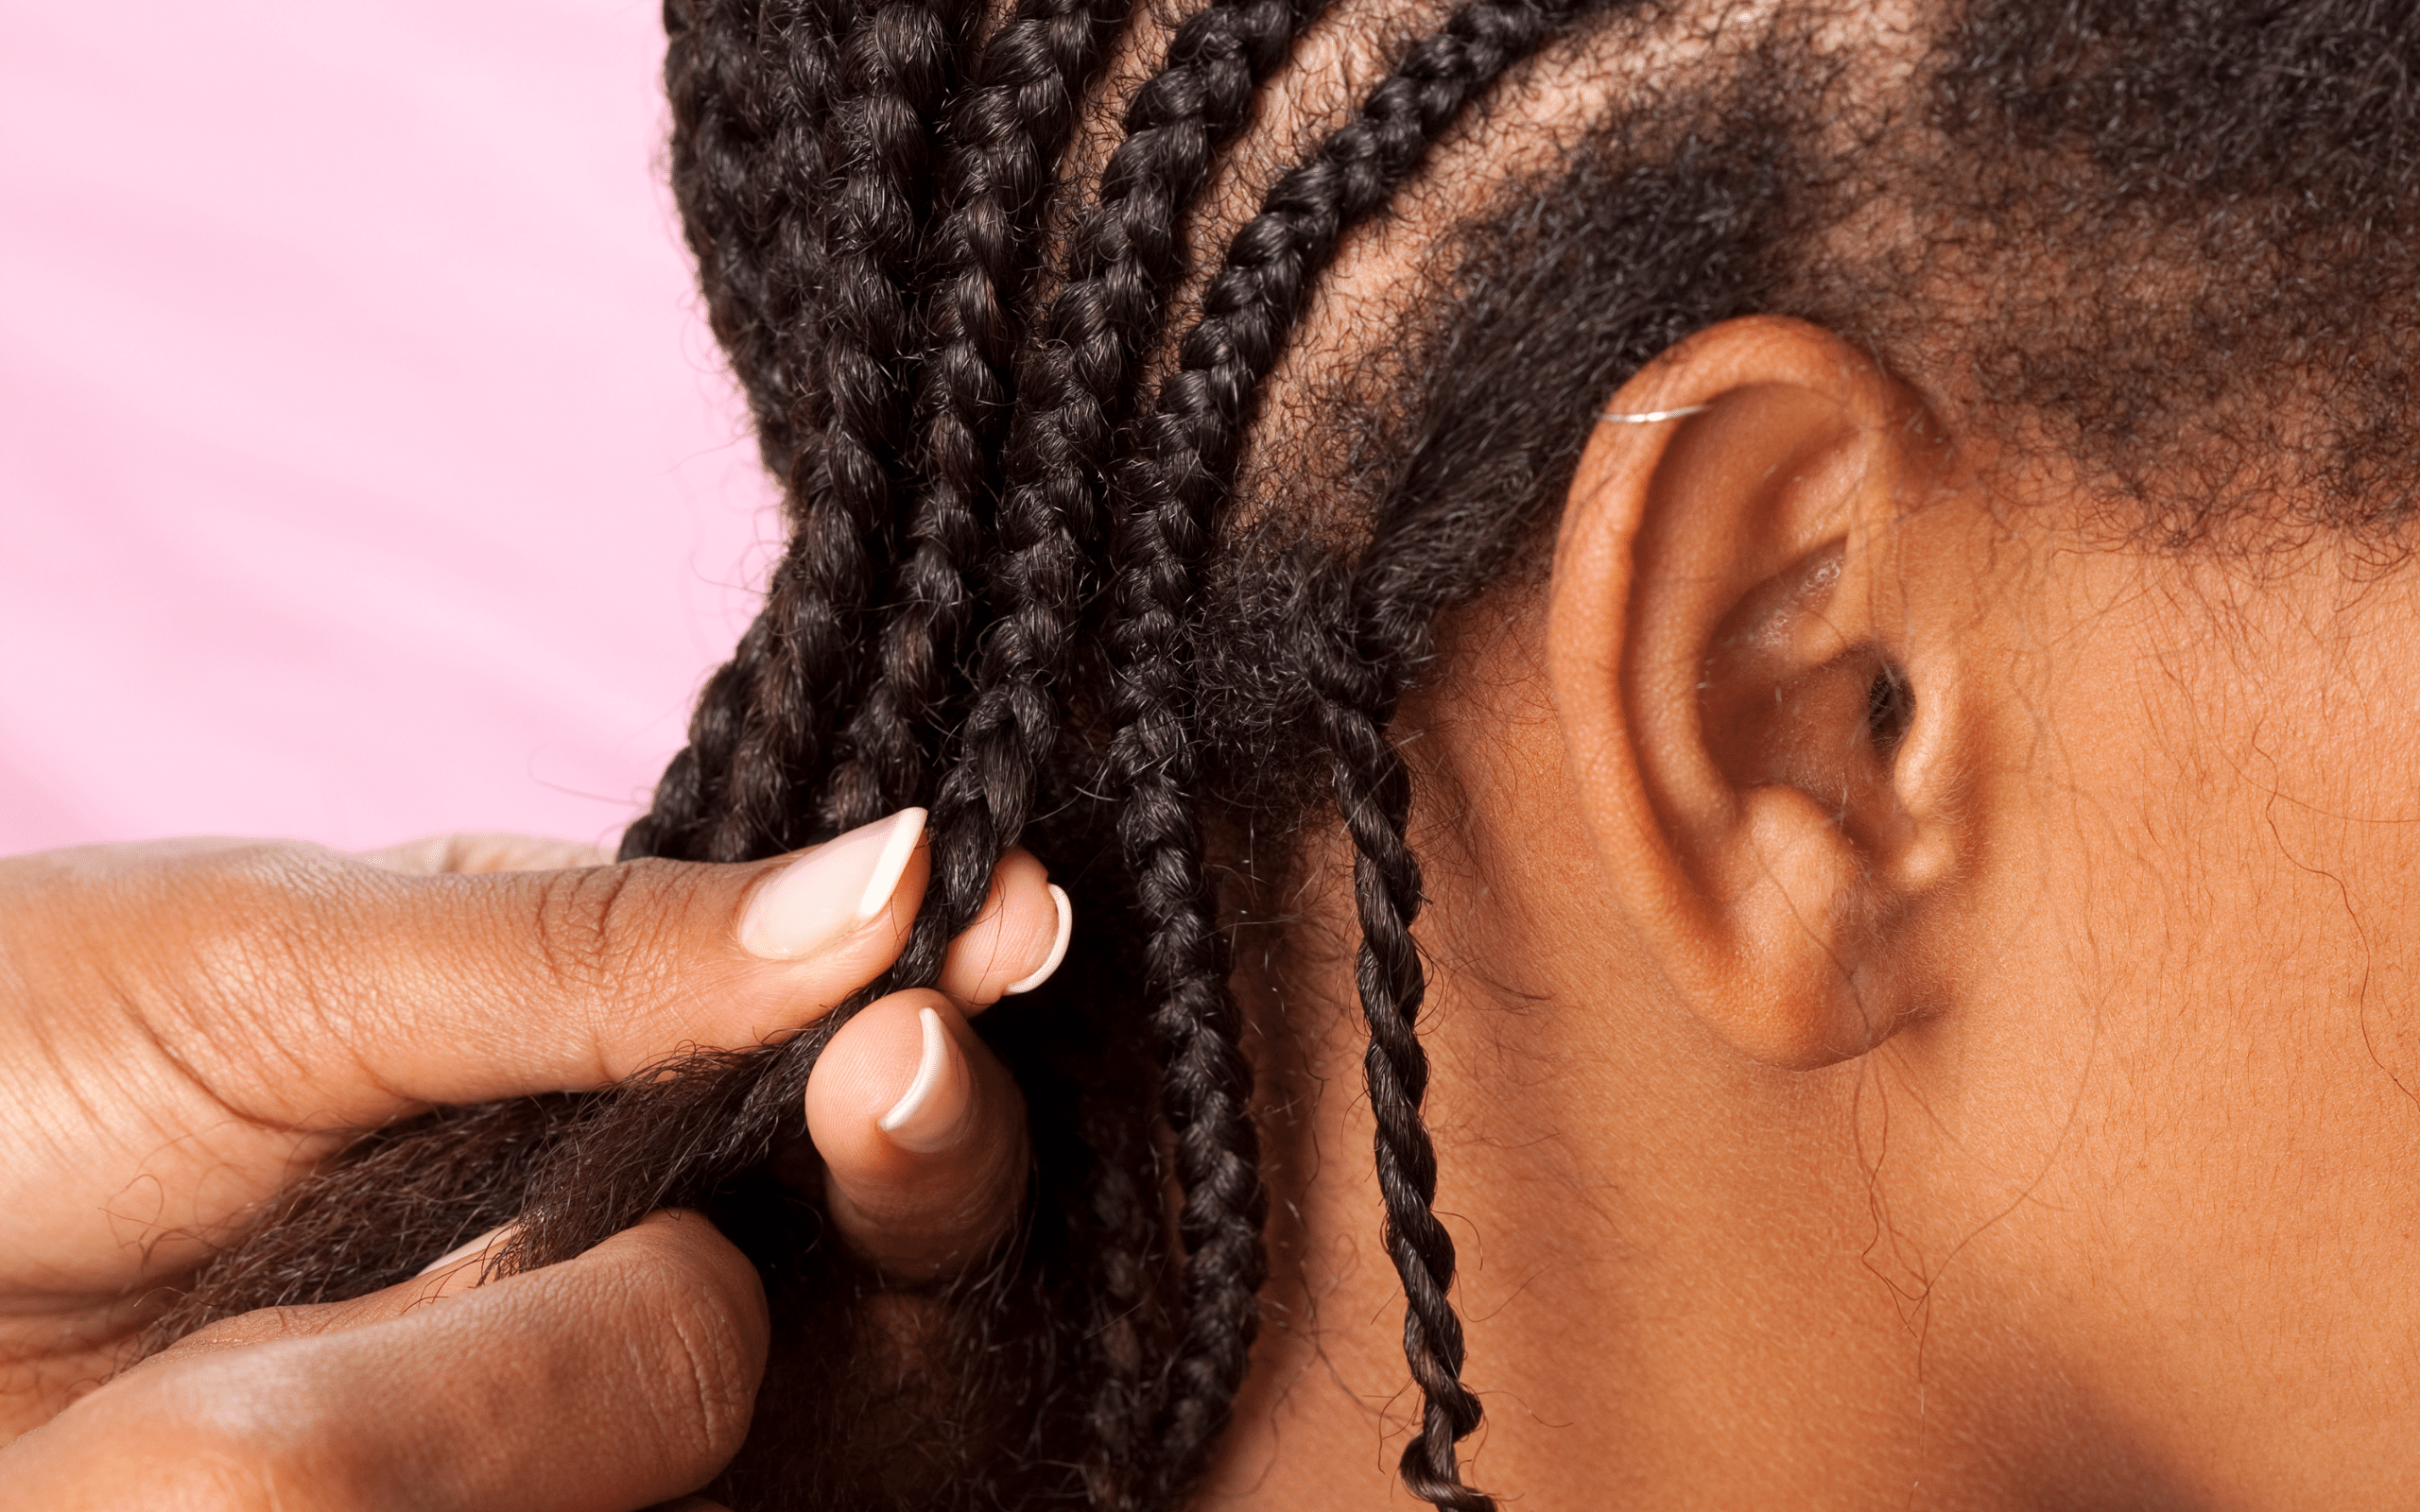
There’s nothing like having a set of fresh braids with your edges laid for the summer. Feed-In Braids are a neat and pretty protective style that will never go out of style.

Not only is Jas McQueen a skilled stylist and braider, but she’s an amazing content creator as well. Jas educates and entertains her following on the highs and lows of maintaining natural hair.
Jas says, “This ‘Wash and Braid Day’ was so soothing to do! The VoiceOfHair Nourish and Grow Bundle made my hair feel so clean and moisturized by doing the 3-step process!…Did I mention the leave-in cream smells SO good?!”
After completing her braids, she used the Pure Fix Hair Elixir to moisturize the parts between her braids to soothe and nourish her scalp.
What are Feed-In Braids?
The term “feed-ins” refers to a braiding method where synthetic hair extensions are “fed” into your hair gradually, to give a natural appearance. Instead of adding the extensions at the front of your hairline, which typically leaves a largely visible knot, feed-in braids begin with your natural hair only, and the braiding hair is added after the braid has been started.
The Secret To Neat & Flawless Braids
Your braids will only be as neat as your parts. Take your time and make sure your parts are straight and even. This will help ensure a clean finished look.

Being able to braid your own hair is an unmatched skill that takes great patience and arm strength. But with patience, practice, and good technique, you can achieve stunning feed-in braids at home.
Here are 5 steps to make sure your braid style is neat and healthy:
Step 1: Cleanse Your Hair Thoroughly
Your hair should be almost squeaky clean before the braiding process. Use a clarifying shampoo before your braid your hair because braiding dirty hair is a recipe for disaster. If you braid your hair with existing dirt, product buildup, and dead skin cells, your scalp may become painful, irritated, or itchy, and your hair may will be dry and can break off.
Step 2: Deep Condition
Before putting your hair into a protective style, you should make sure it’s soft and moisturized by using a conditioner with high quality, nourishing ingredients. This will help prevent damage and breakage to your hair while it is in the feed-in braids.
Step 3: Detangle
Detangled hair will be easier to section and braid. Comb your hair from root to tip while it is saturated with conditioner to remove any knots or shed hair.

Step 4: Blow Dry
You don’t have to blow dry your hair to braid it, but it can help make things easier. You can use a blow dryer with a comb attachment, or a blow dryer brush to stretch your hair before installing your feed-in braids.
Step 5: Divide & Part Your Hair In Sections
To braid your hair, part it down the middle, and then from ear to ear so that you have four sections. You can secure each section with a large clip or even a hair tie. Begin braiding from the back and bottom sections and work your way up. Many stylists use a rat-tail comb and edge control to help get perfectly straight parts. Take your time with this step. The neater you make your parts, the neater your overall style will appear.
The Key Takeaway
Feed-In Braids look amazing and are a great way to protect and grow your hair. To prevent damage and maximize your length retention, it’s important to care for your natural hair and give it extra TLC before installing the braids, while you’re rocking them, and even after you take them down! Keep your scalp clean and your braids moisturized when you wear feed-ins, and your hair will flourish.
Brandelyn Green is the Founder of VoiceOfHair, a platform to help women of color find the best hair care products, regimens and hairstyles! Since starting VoiceOfHair in 2014 she has grown the social media platform to over 1MM+ on Instagram and Facebook. As a natural who is also a salon goer, she wanted to create a platform where people could find the best products, hairstylists, advice and trends.


